
The best vegan apple crisp recipe ever made with only 5 ingredients! So easy, healthy, gluten-free and takes only 10 minutes of prep time.
it's amazing how this vegan crisp comes together so simply. The flavor is unreal and perfect for a dinner party or just a healthy apple dessert to have on hand.


This is a sponsored conversation written by me on behalf of NOW Foods. The opinions and text are all mine.
This post was originally published on July 14, 2019.
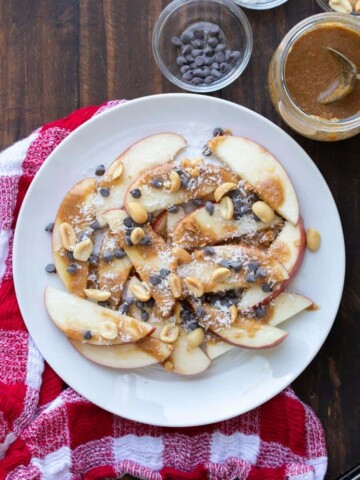
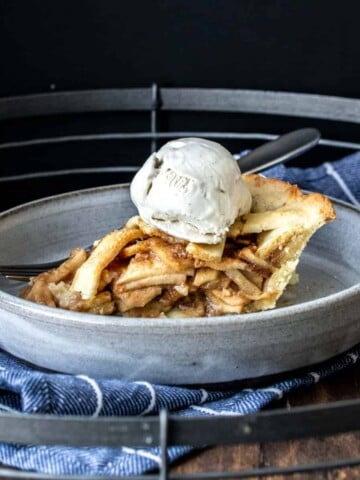
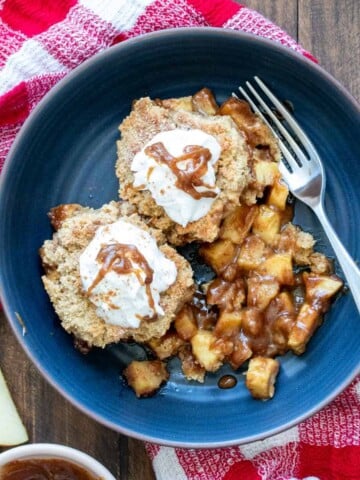
Apples and cinnamon are two of my favorite combinations. The smell alone makes my mouth water! You can find these amazing flavors in my vegan apple pie, vegan apple cobbler and also this incredible healthy recipe for apple crisp!
By using natural sweeteners it's easy to keep this apple crisp recipe healthy compared to more traditional versions. Plus, the plant based whole food ingredients used are also gluten free which means this delicious dessert can be enjoyed by pretty much everyone!
Ingredients
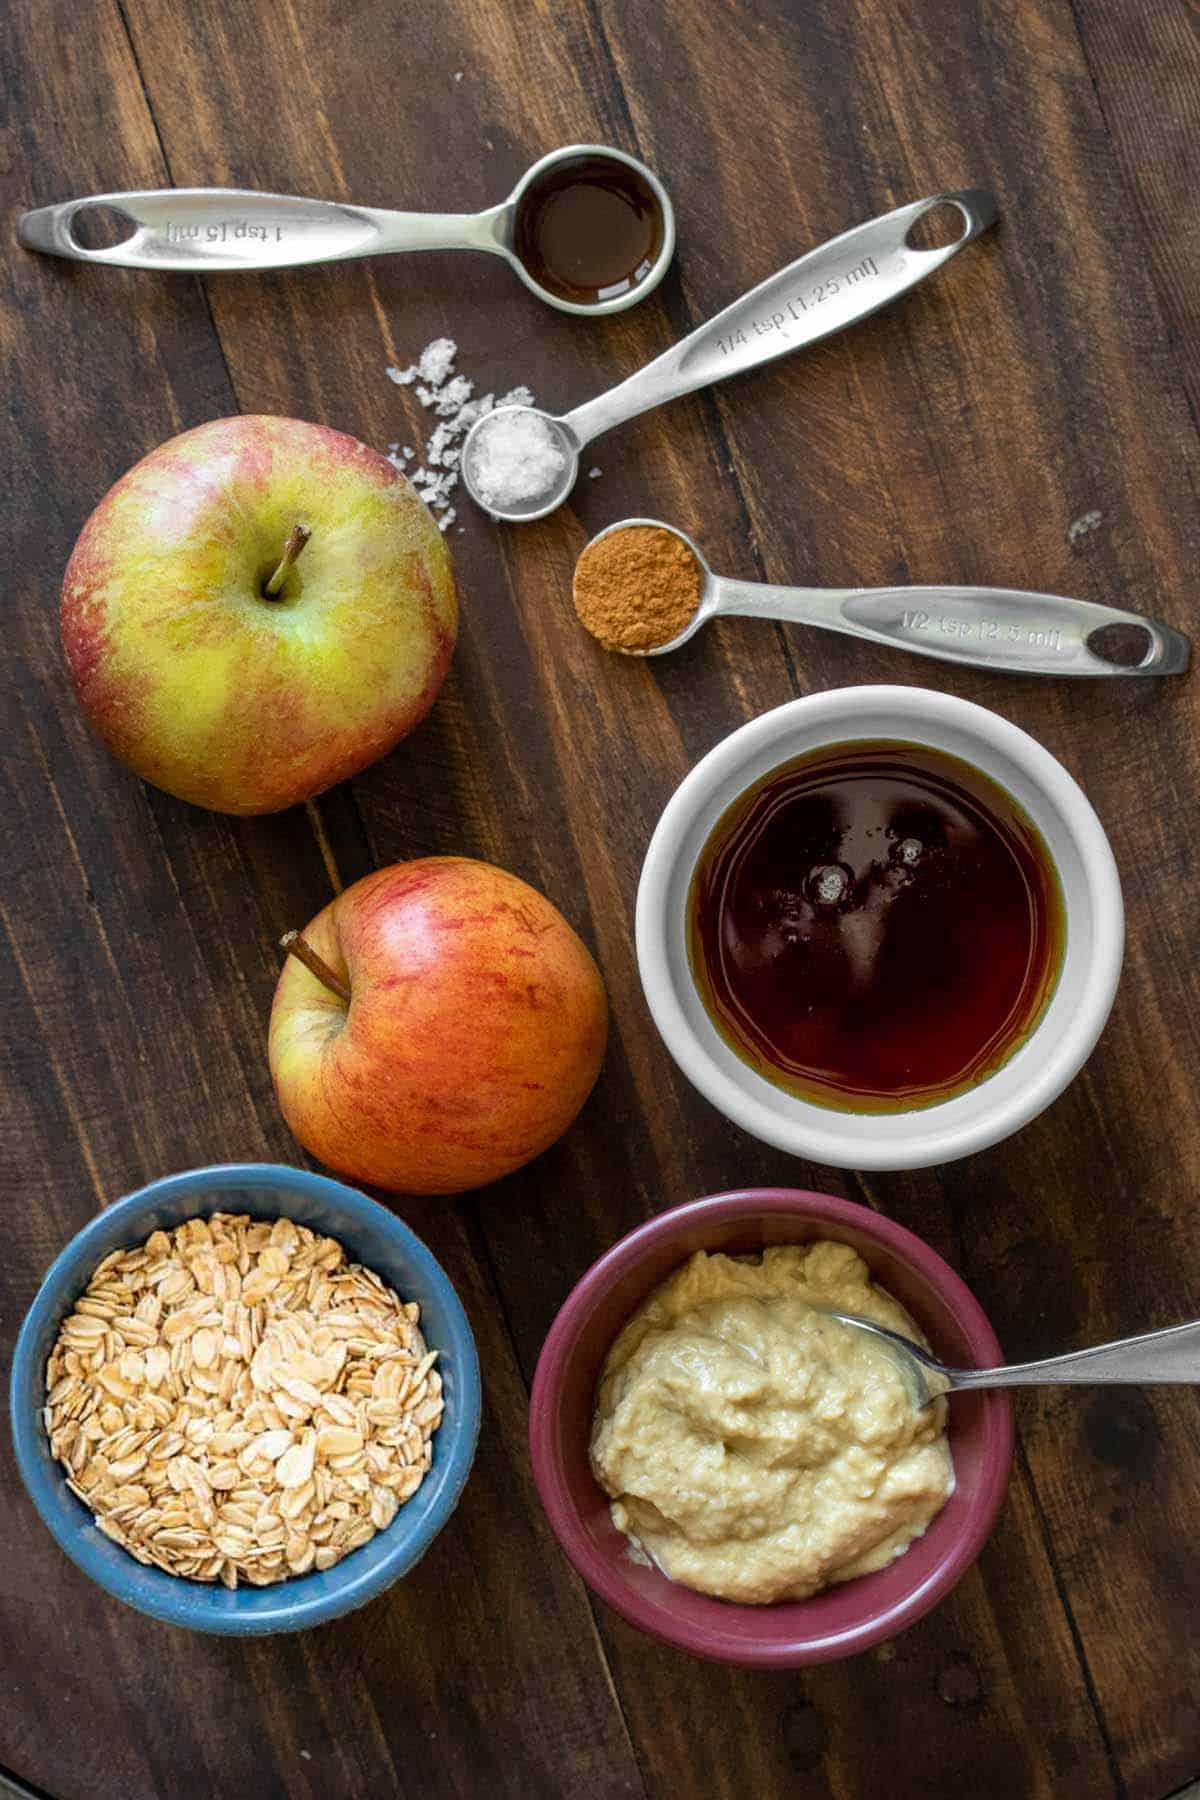
The trick to making this gluten free vegan apple crisp easy is using the ingredients in multiple ways. Here are the key players:
- Apples
- Oats
- Maple syrup
- Cashew butter
- Sea salt
- Optional vanilla and cinnamon
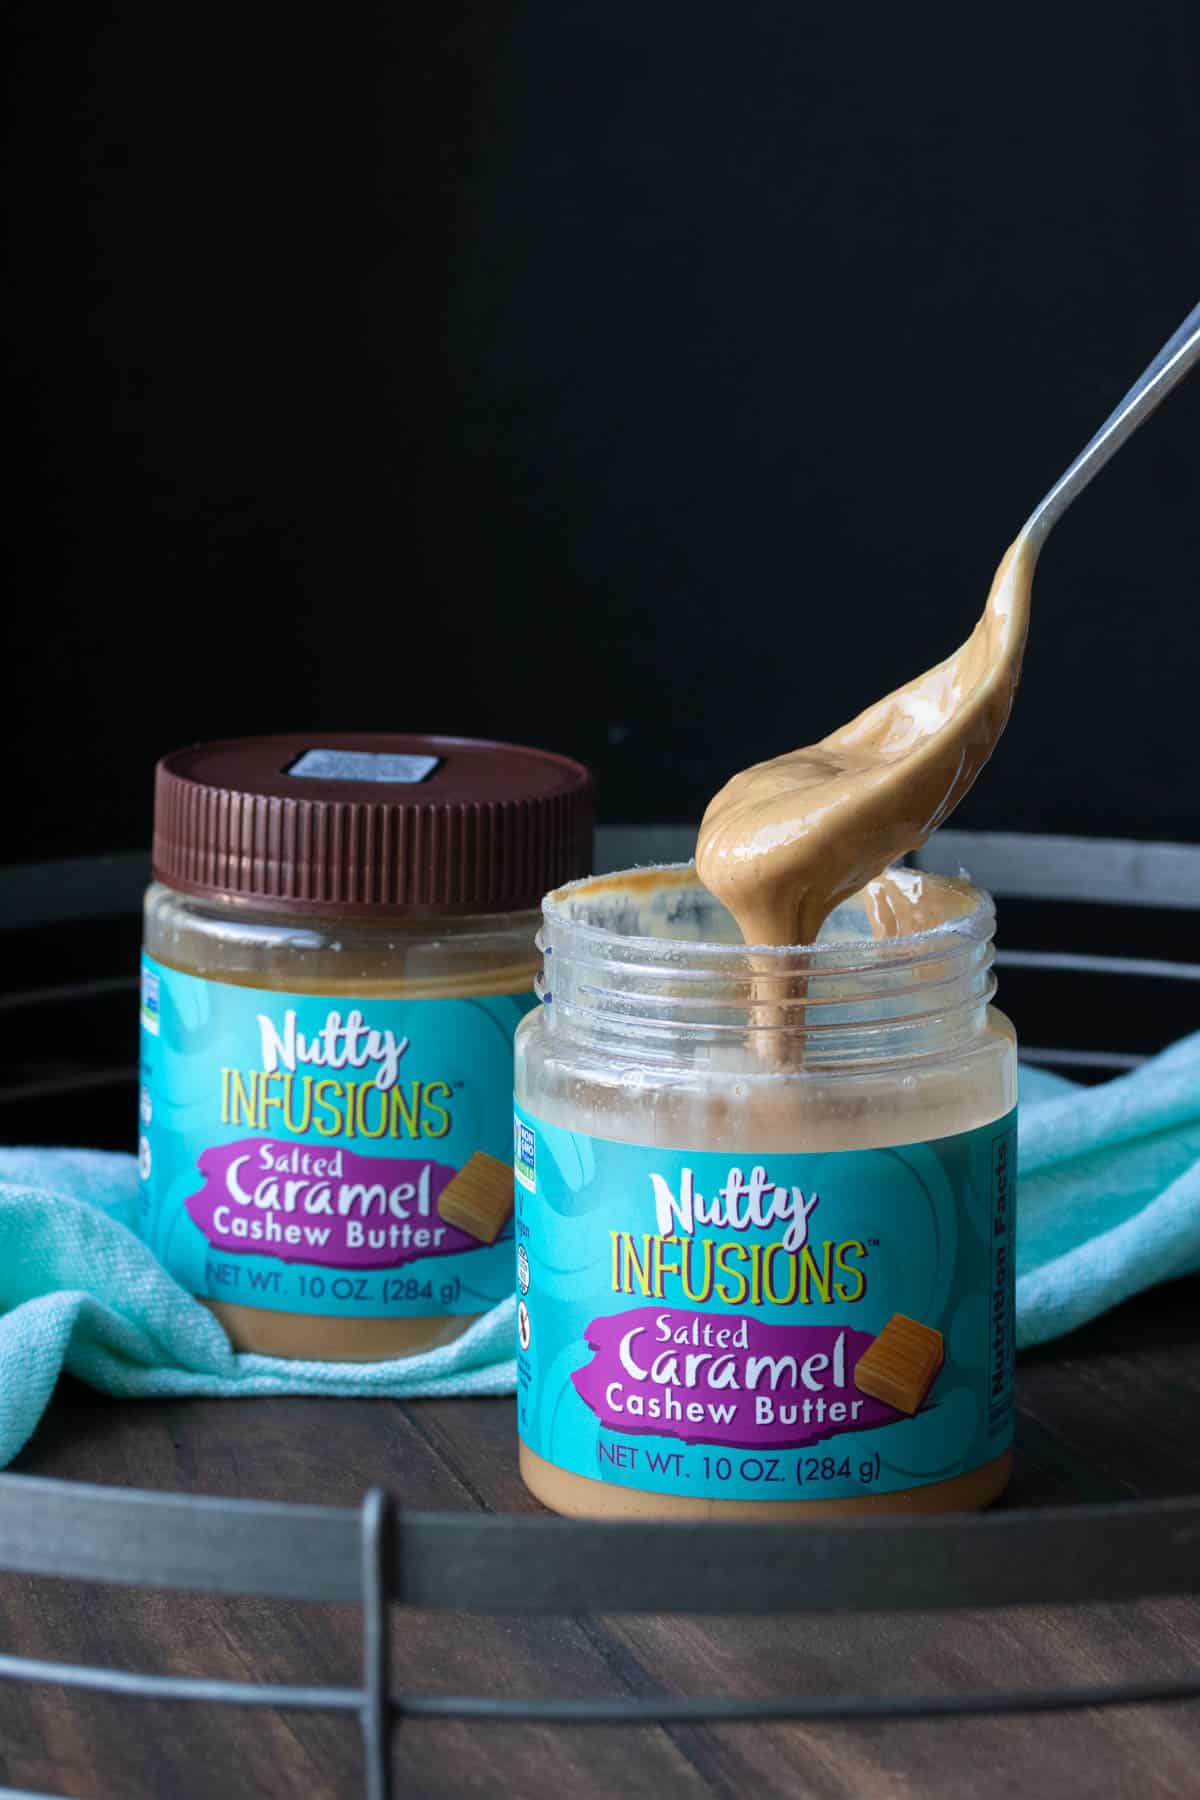
The secret of this healthier apple crisp is in the cashew butter. And my favorite kind to use is the one by NOW Foods’ new Nutty Infusions™ nut butters, specifically the salted caramel infused flavor! They also have a plain cashew butter that is just as delicious and works just as well.
Why does it work? Because when you mix the cashew butter with the maple syrup, it makes a thick caramel like mixture that combines with the liquid that the apples release.
It remains thick and helps the filling cook and the end result is not watery. You know it's working when you see it bubbling up. It's so delicious I can't even stand it.
How to Make Easy Vegan Apple Crisp
Who would have thought that you can easily make an apple crisp vegan and gluten free with so few ingredients?! It's possible and it's delicious so get ready to be blown away!
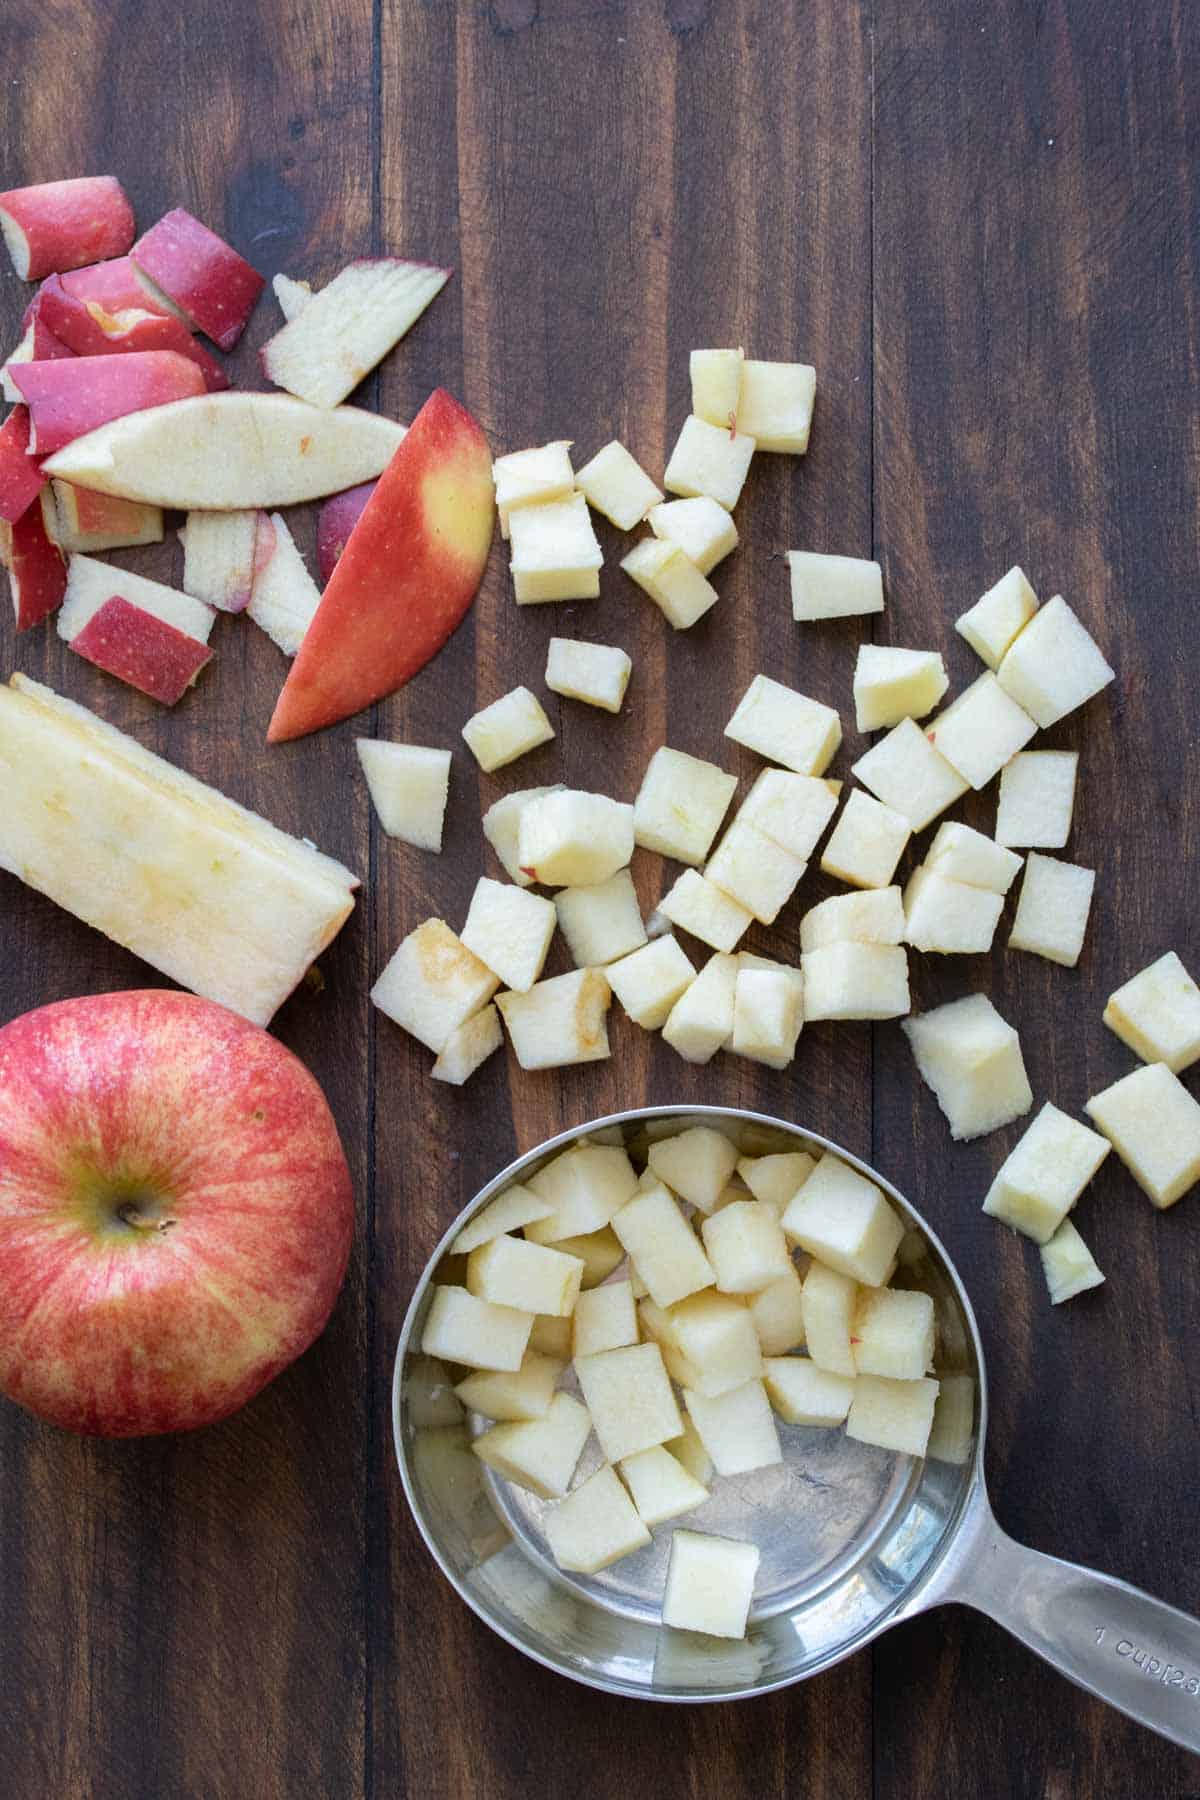
- Cut the apples.
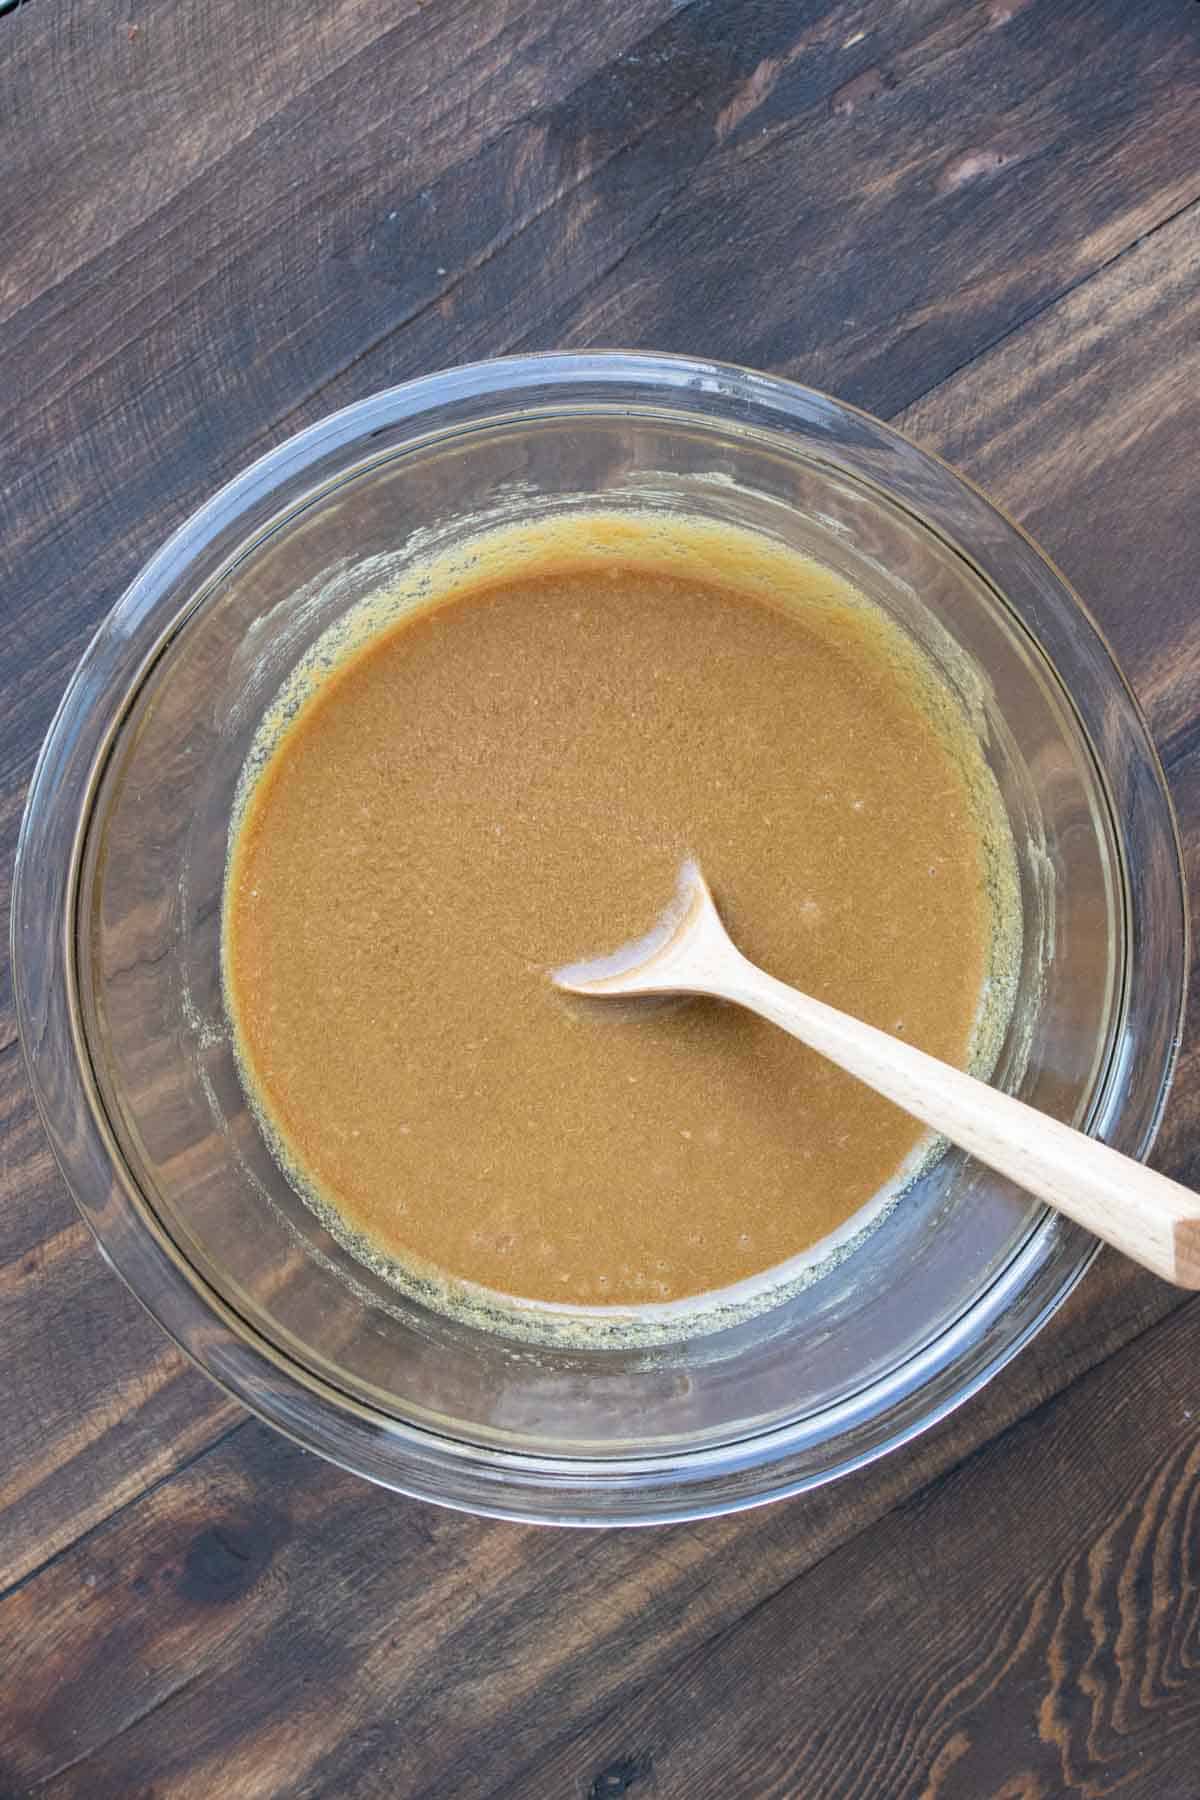
- Make the gooey base.
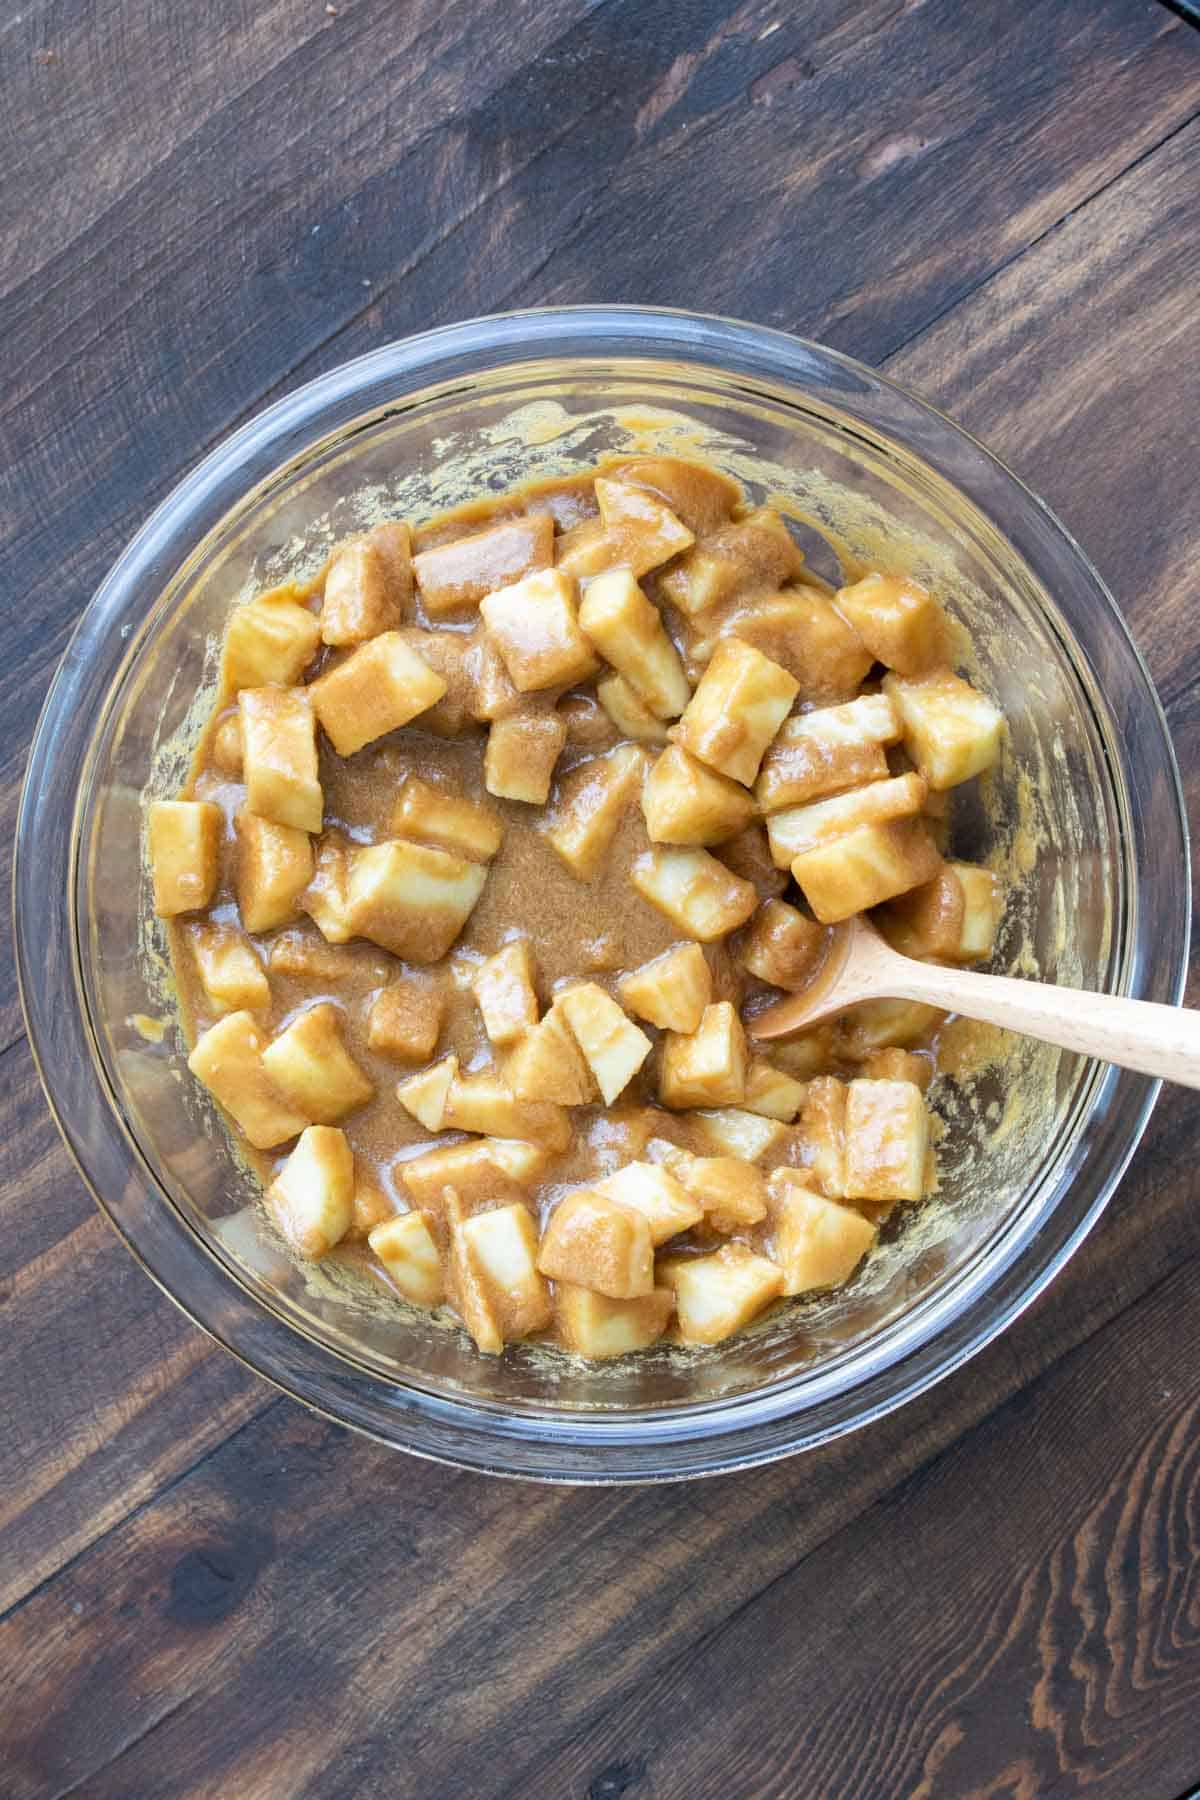
- Toss in the apples.
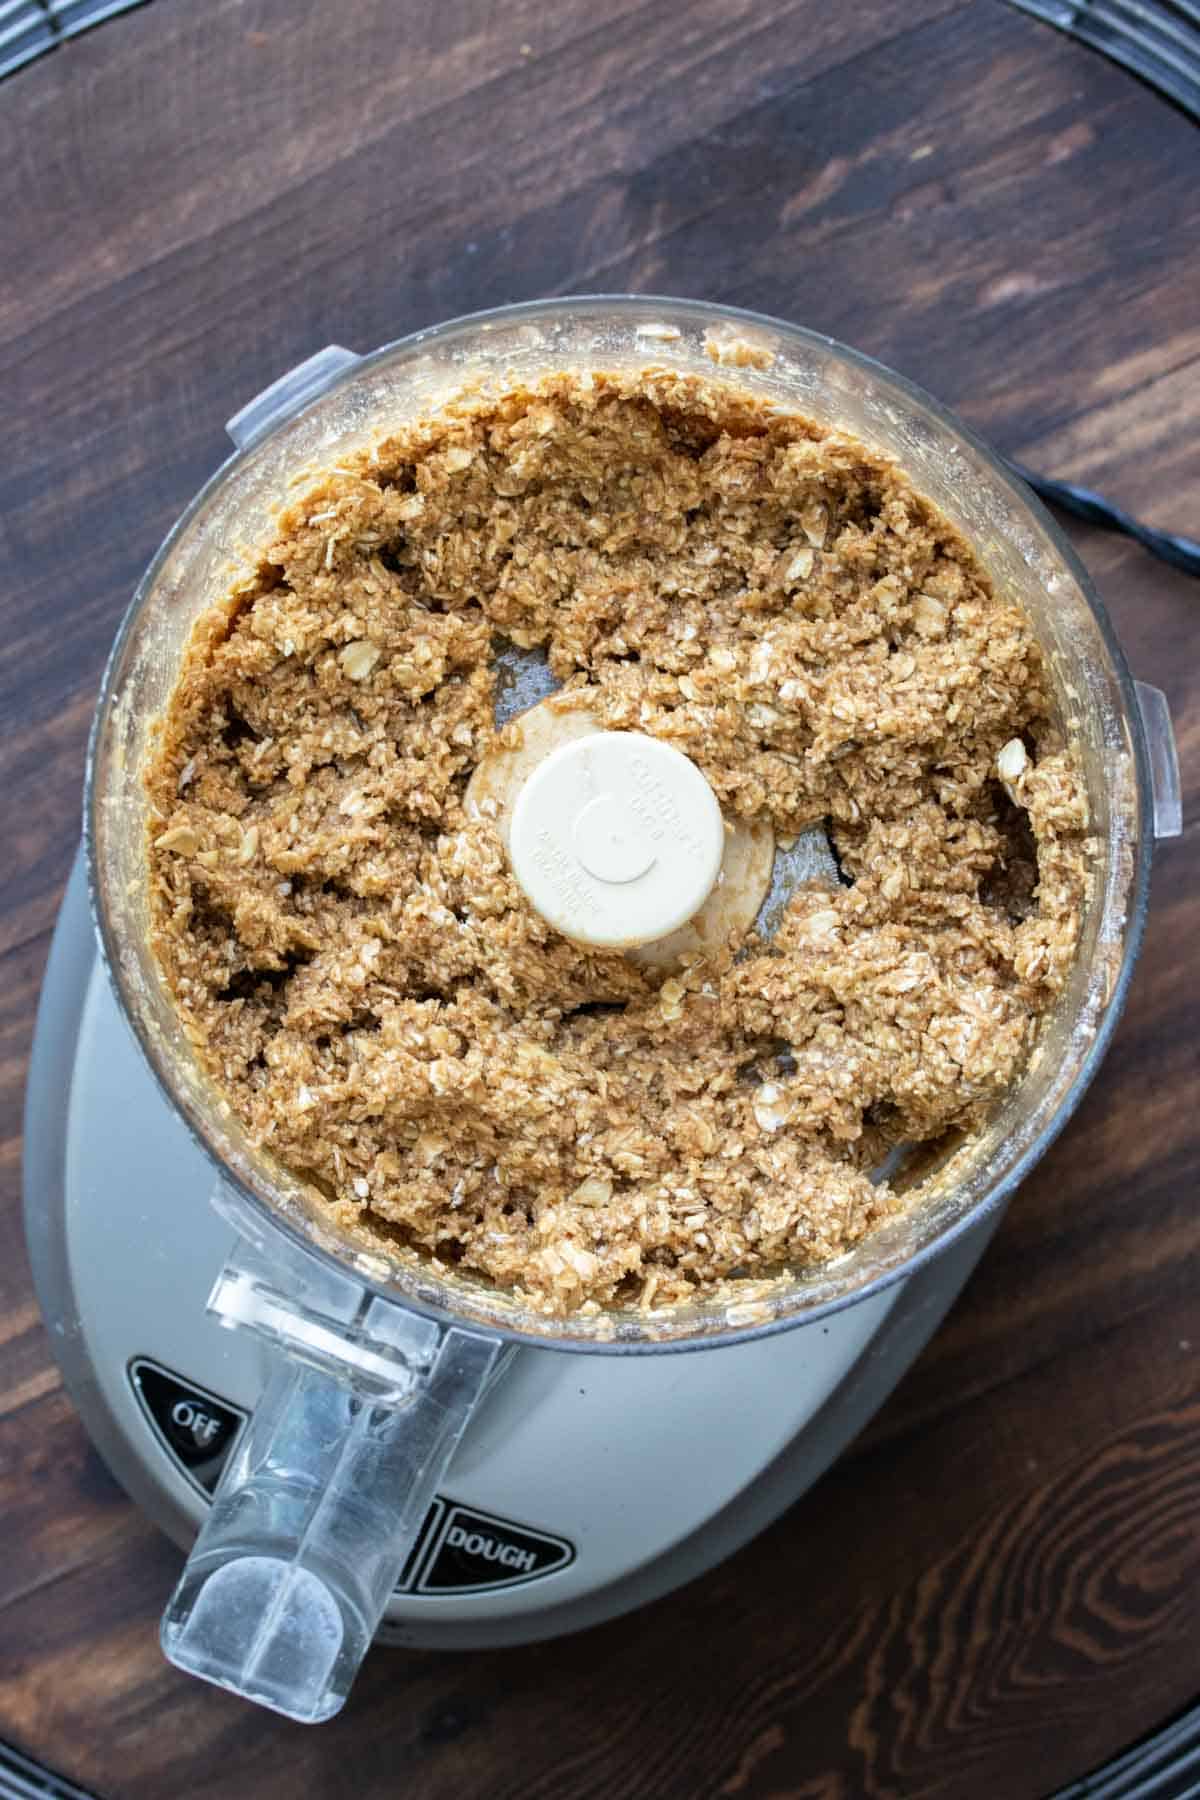
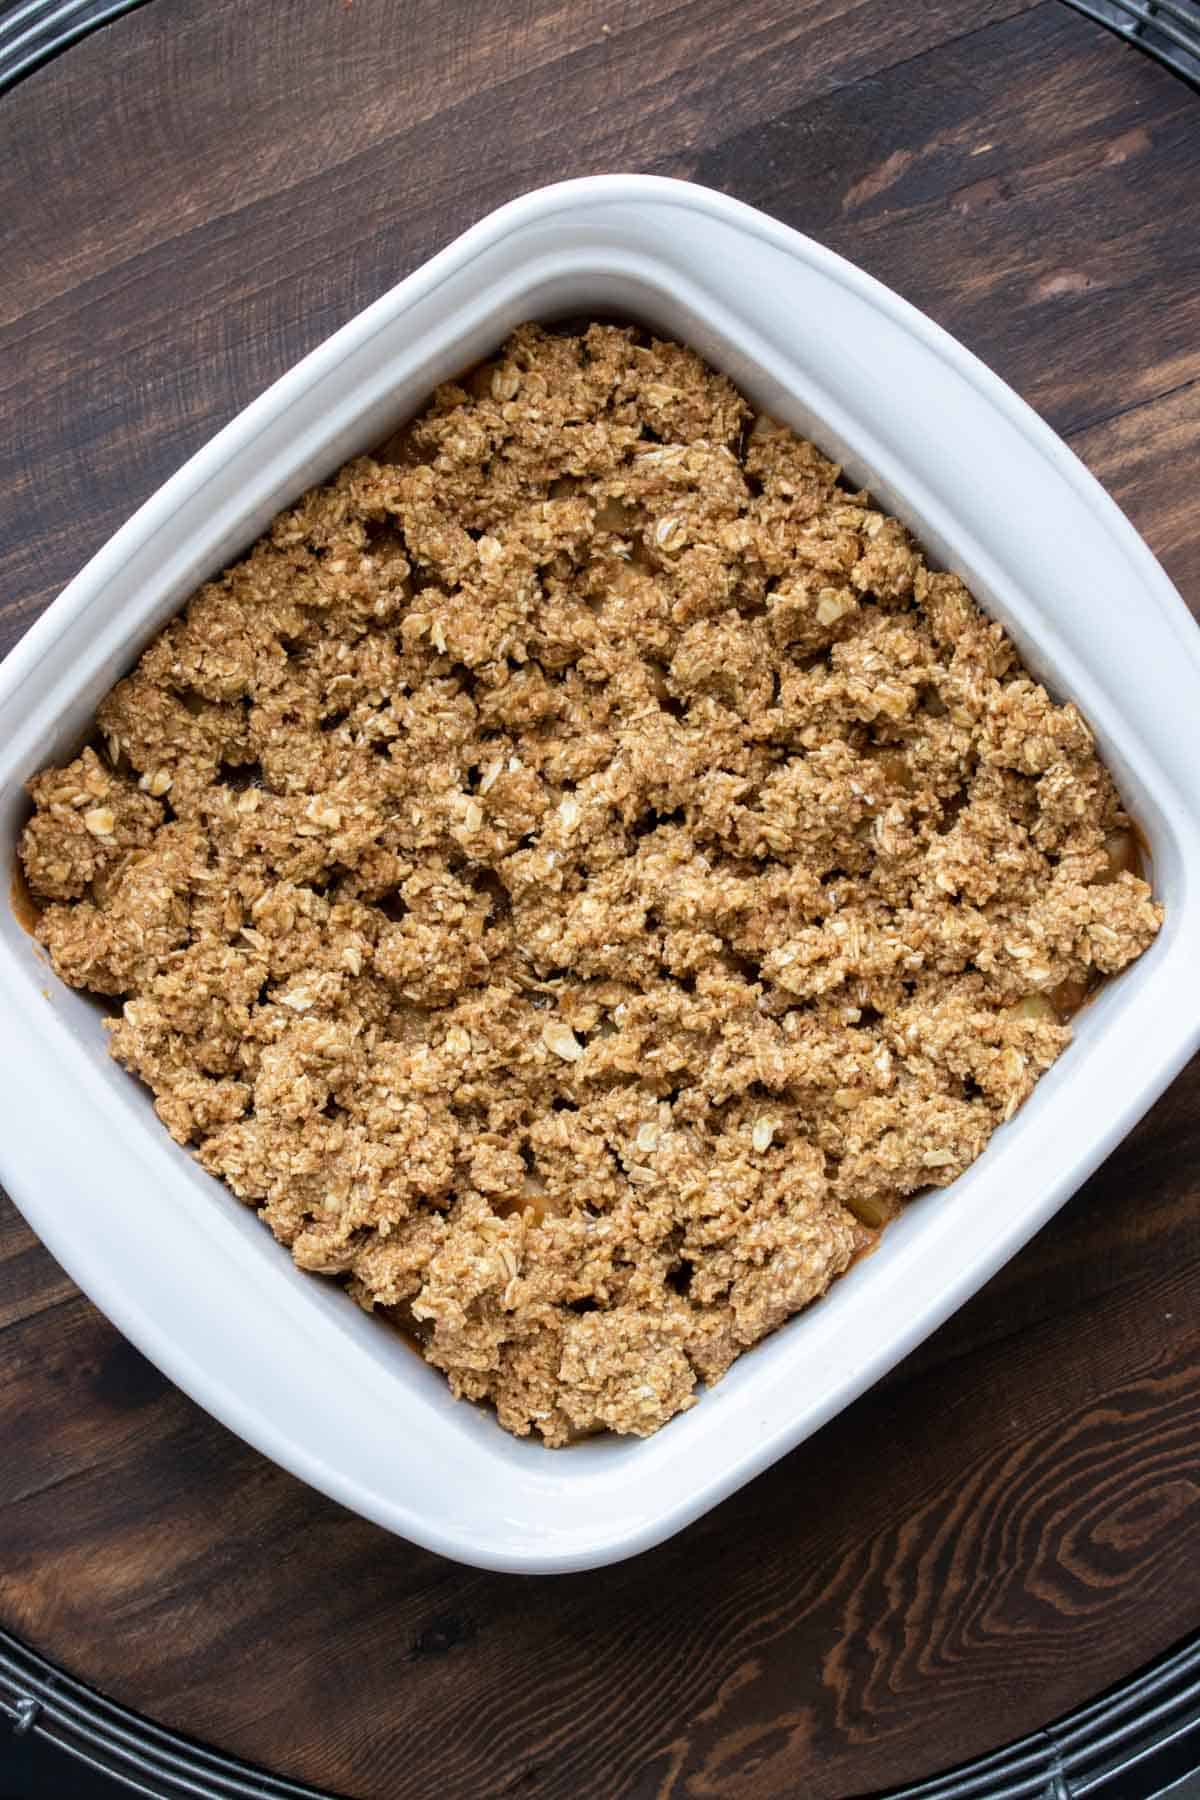
- Make the crumbly topping.
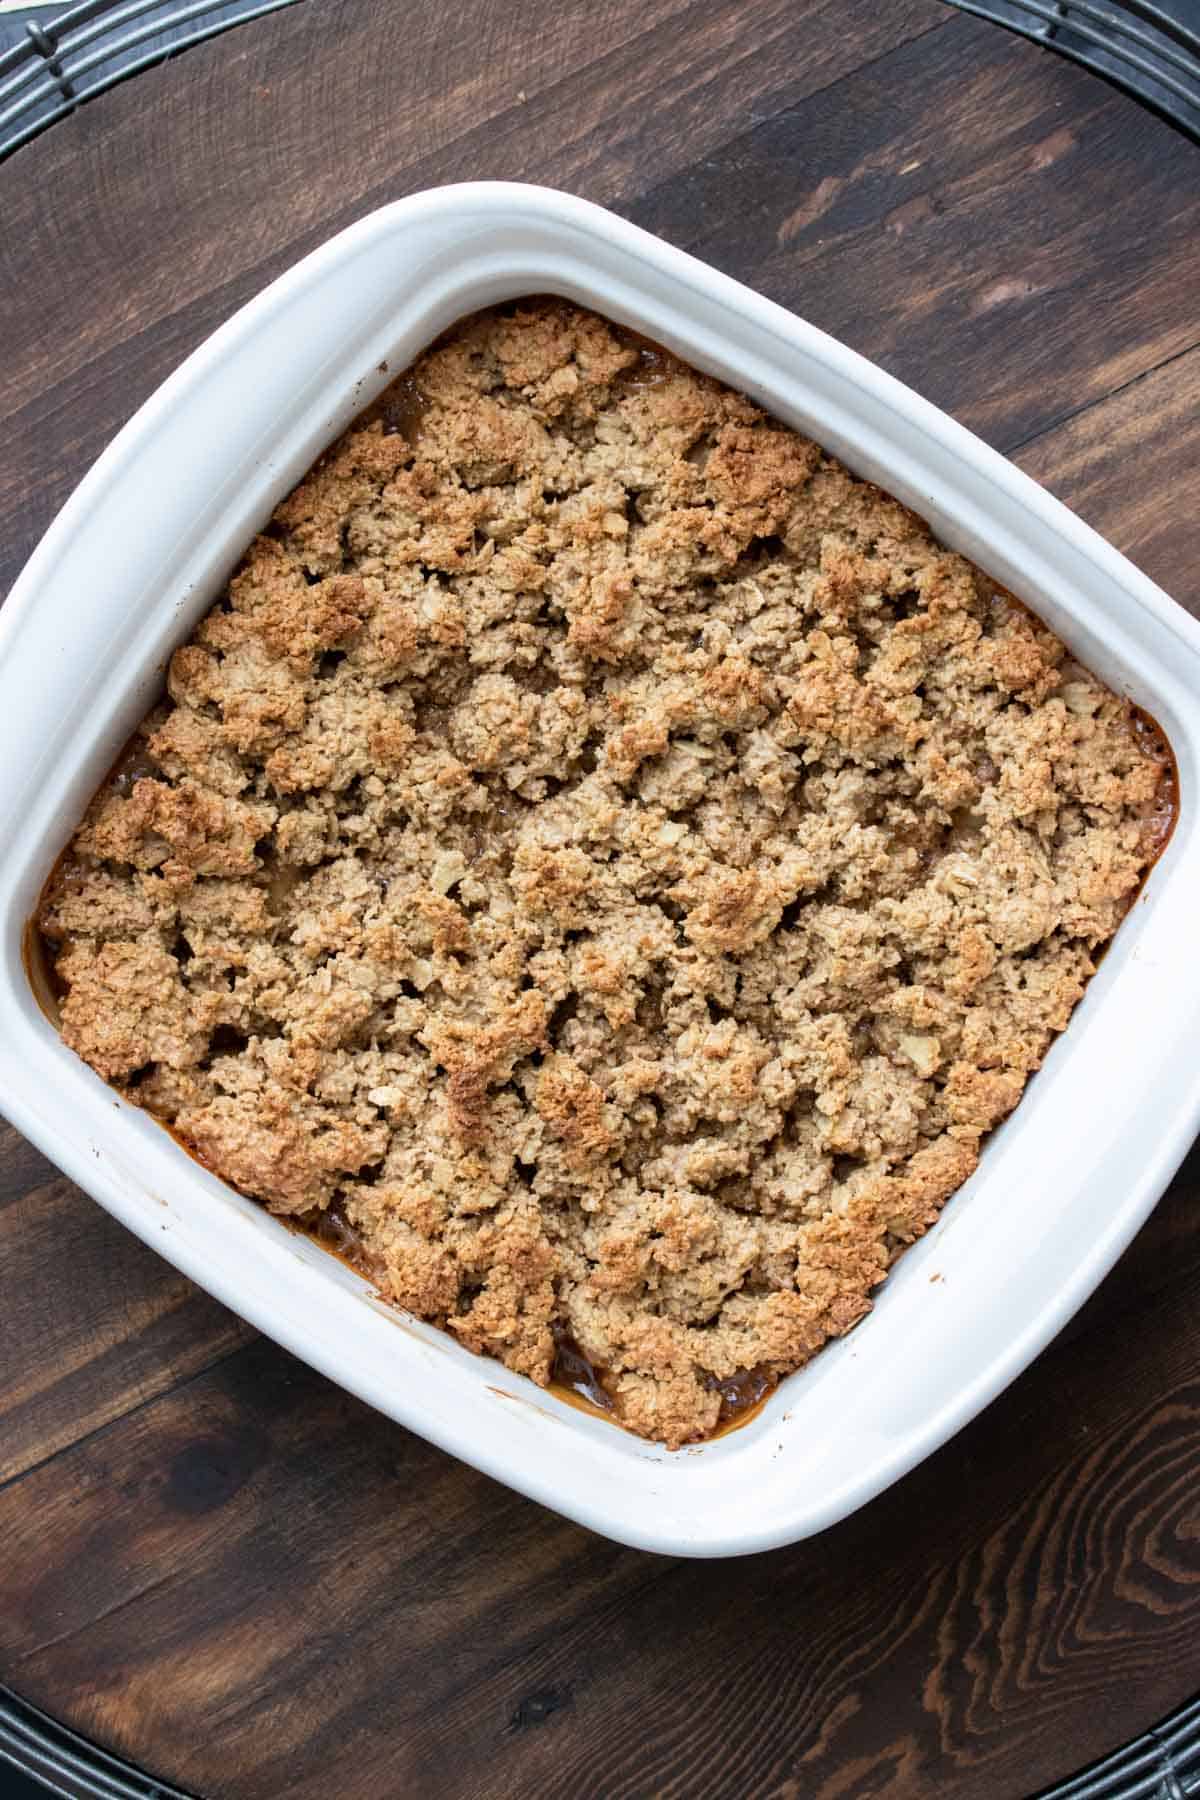
- Build the crisp and bake.
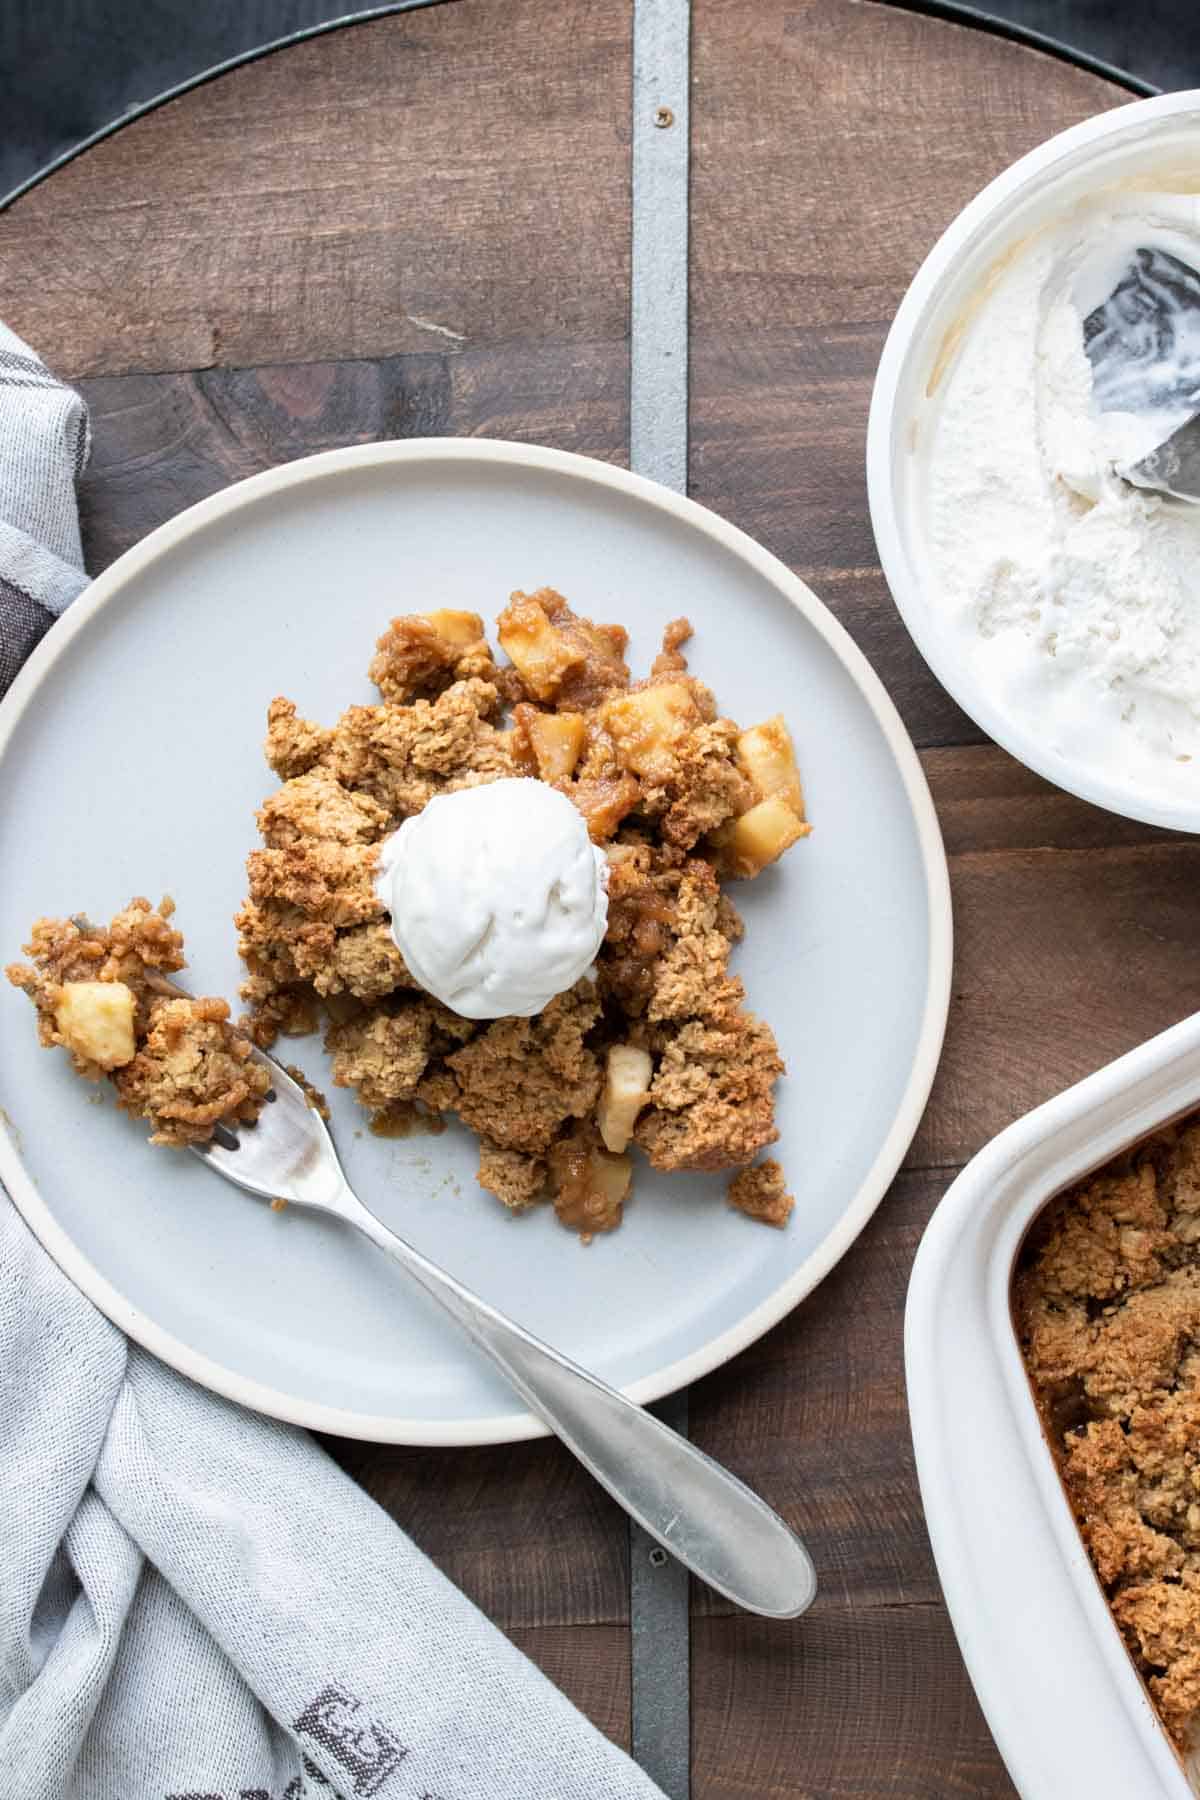
- Serve!
Serving Suggestions
If you're really feeling wild, here are a few things that can jazz up this vegan apple crisp recipe:
- Make extra of the base and use it as a caramel like drizzle over the top
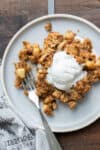
- A la mode it with some vanilla ice cream
- Top with coconut whipped cream.

The Best Apples for Apple Crisp
There's a lot of debate on which apples to use when making apple desserts such as this vegan crisp. It really comes down to personal preference.
The more firm or crisp the apple the better. As the apples bake they will break down and can get mushy if your apples are too soft.
If you like your desserts on the sweeter side choose sweeter apples such as red or honey crisp. Granny Smith apples will result in a flavor that is more tart.
Tips and Tricks
This is a pretty full proof recipe, but here is some info to help you along the way to make the best vegan apple crisp!
- To get the best result, you want to make sure that you peel the apples. The easiest way to do this is to use a vegetable peeler. It's fast and gets the skin off while leaving the actual apple behind.
- You also want to make sure that you're cutting the apple pieces evenly so they are relatively the same size. If they are all different sizes, then they won't bake equally.
- When spreading the topping, spread it around evenly so that it bakes evenly.
- You also want to make sure you don't over bake it because it will dry out.
Preparing in Advance
- To prep the vegan apple crisp ahead of time, you can cut the apples and store them in the fridge until ready to use. Make sure to keep them in an airtight container. They may brown a little but that's okay because you are baking it.
- You can also make the topping and store it in the fridge until ready to use. Put it out on the counter so it can get to room temp before you use it.
- The caramel like sauce is quick to whip up and better freshly made, so I would make that fresh but if you really wanted to make that ahead of time too you can. Just get it to room temp before you use it because it will harden a bit in the fridge.
Common Questions
Crumbles and crisps are used to describe the same thing today, but originally there was a difference. Crisps traditionally had oats in the topping and crumbles did not.
Baked fruit desserts get runny because of the fruit releasing liquid and not being cooked long enough to thicken. Usually it's because the crust starts to burn. But with my method, this doesn't happen.
In our house? Maybe about 5 minutes after served. But in general, it's good for about 5-7 days. If you want it to last longer, then keep it in the fridge, but either way refrigerate it after day 2.
After baking, I keep this out on the countertop until we eat it. If you have leftovers, you can keep them covered at room temperature for about 2 days. After that, put it in the fridge in an air tight container. It can last there for about another 3 days or so.
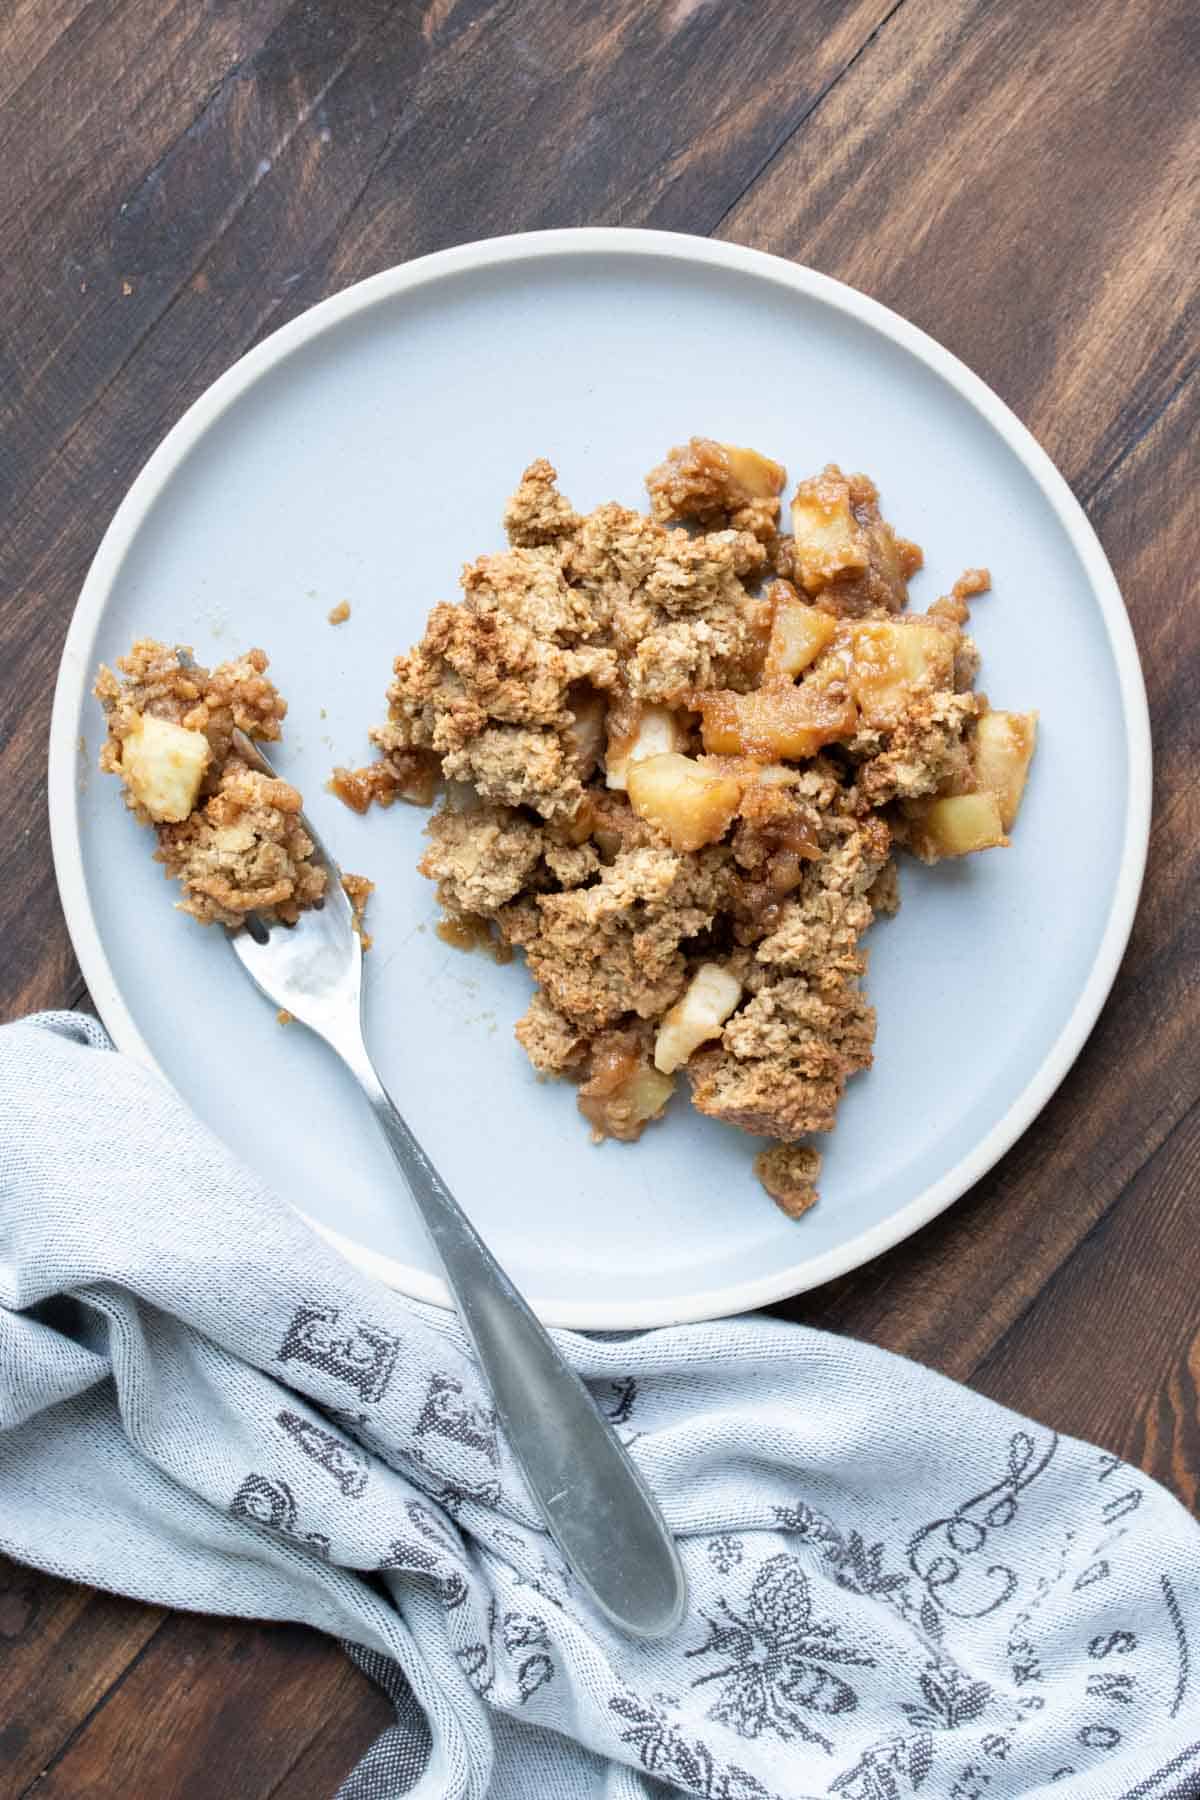
It is best fresh since it's slightly crispy on the outside and perfectly cooked on the inside. However if you don't eat it all, you can reheat it the next day. It won't be as crisp, but you can put it back in the oven for a bit to warm it up or you can microwave it if you don't care about the softness.
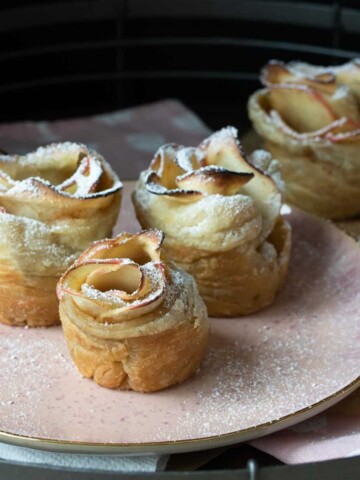
More Apple Vegan Dessert Recipes
Here are a few other vegan apple recipes for those obsessed like I am:
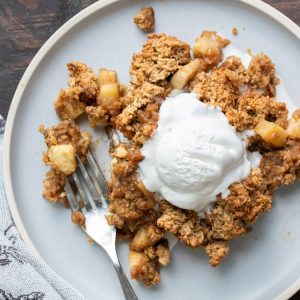
Best Healthy Vegan Apple Crisp (Gluten Free)
Equipment
Ingredients
Filling:
- ¾ cup maple syrup
- ½ cup cashew butter , I use NOW Foods salted caramel infused
- ¼ teaspoon sea salt
- 2 ½ cups peeled chopped red apples , about 2 medium sized apples
- You can also add in an optional 1 teaspoon vanilla extract and 1 ½ teaspoons cinnamon for added flavor , optional
Topping:
- 2 cups rolled oats
- ½ cup cashew butter , I use NOW Foods salted caramel infused
- ½ cup maple syrup
- ½ teaspoon sea salt
Serving suggestions:
- Vanilla ice cream , vegan to keep this vegan
- Dairy free whipped cream , I use this homemade vegan version
- Make extra filling (minus the chopped apple) and drizzle on top like caramel
Instructions
- Preheat oven to 350 F/175 C
- Mix the maple syrup, cashew butter and sea salt in a large bowl until blended and caramel like.
- Add in the apples and coat well. Pour the mix into a square baking dish (8 or 9 inch works).
- Add all topping ingredients in a food processor and pulse until incorporated. You can also simply mix them in a bowl if you don’t mind the whole oats.
- Using your hands, drop pieces of the topping over the apple, covering them evenly. It doesn’t have to be pretty, just covered lightly.
- Bake at 350 F/175 C for 35 minutes or until beginning to brown on top. Do not over bake or it will dry out.
- Serve fresh with toppings of choice!
Notes
- You can use plain cashew butter with equal success, I just love the added flavor of the NOW infused cashew butter.
- The easiest way to peel the apples is with a vegetable peeler, it keeps the most meat and gets rid of the skin.
- You can make each part ahead of time then bring to room temp before building and baking.
Recipe by Veggies Don’t Bite, visit our site for more great plant-based recipes.
Nutrition
Nutrition and metric information should be considered an estimate.

Erika C Fielding
Made this for my husband. Used fuji apples and no syrup. Added cinnamon and nutmeg to filling. Added coconut to the topping and no syrup there either. Gotten to where the plain fruit is plenty sweet, no additional sweetener needed! He loved it!
Sophia DeSantis
I am so happy you and your husband loved it Erika!
Sarah
Loved the flavors in this! Perfectly sweet without being too sweet!
Diane Kinge
Hi....my daughter has a negative reaction to cashews, could I use almond butter instead of cashew butter? I’d love to make this, it sounds awesome. I would need to find a substitute though for the cashew butter. Thanks!
veggiesdontbite
Hi Diane! Absolutely!! Almond works as well!
CAROLEENA
Just a mention - - for food purists out there - - when I was caring for my mom with dementia, she lost some teeth and therefore her dentures, and couldn't be re-dentured. She had to have soft foods and apple crisp is something I made her every week. I never peeled the apples and the end product came out just fine. What I did do was a little less traditional, however - - I cut each apple wedge into 3 pieces so she wouldn't have a problem chewing.
steviefbillman
This looks SO easy and I love the flavor of that cashew butter! What a delicious recipe for the summer.